Garlic Compound Butter Madness
If there’s one thing I can’t get enough of, it’s garlic.
I still remember being a pre-teen and discovering the magic of adding garlic powder to my spaghetti. (I think that was my first seasoning!) My family made pretty plain spaghetti at the time – probably my fault as the picky eater – so adding a little powdery enhancement was my first step into the world of making food better-er.
Garlic adds a bit of salty, slightly spicy, kind of savory flavor to foods. This plays nicely with tomato sauce, cheese and cheese sauces, and most meats. Fresh chopped or minced garlic leans more towards the almost-sweet and buttery side of flavor, whereas cooked and roasted garlic mellows out a bit, blending into the dish it’s being added to. Dried and powdered garlic, then, hits that more pungent salty side of the flavor.
No joke: I have made roasted garlic wherein I roast a head of garlic drizzled in olive oil, with garlic powder and jarred minced garlic on top, then add freshly minced garlic into the sauce the roasted garlic went into. The different stages of garlic flavor differ that much that sometimes I want all of them.
Growing up until my mid-twenties one of my most consistent garlic fix was eating Texas Toast garlic bread. (Or the bigger, generic garlic loaves when money was tight and I wanted more bread for my buck.) The five-cheese variant was my favorite. I haven’t eaten these in years, however.
To make garlic bread these days, I just buy those near-expiration bread loaves on the clearance rack at my local grocery store – usually french bread or the cheese sub sandwich bread – and slice it up and freeze it in zip-lock bags, ready to toast with my own garlic butter whenever we want it with a meal.
If I had my way, I’d cram a lot of garlic into my garlic butter – but my wife tends to not want it when I go overkill. So here’s my still-too-complicated-but-delicious garlic butter recipe.
Actually there’s two.
Fresh Garlic Butter
This is made using freshly minced (or finely-chopped, either works!) garlic. The recipe scales one stick of butter at a time, so it’s easy to multiply.
For this recipe, I use salted butter (Kerrygold when I can), but you can use unsalted butter and manually control how much kosher salt you add, instead. I will not be adding additional salt since it’s in my butter already.
As mentioned, this is a complicated recipe with many flavors. Most of the ingredients beyond the butter, garlic, and parsley can be skipped – but I think the added complexity helps what would often otherwise just be… bread.
Ingredients
- 1 stick of salted butter, softened at room temperature
- 4 cloves of garlic, minced or finely-chopped
- 1.5 tbsp fresh parsley
- or 1/2 tbsp dried parsley
- ¼ tbsp basil
- ¼ tsp freshly-cracked black pepper
- A pinch of red pepper flakes
- 1/8 tsp MSG
Optional:
- 1/8 cup of grated parmesan cheese (I eyeball this)
[I like the parmesan cheese flavor in this butter but when freezing it and then using it, it can make the butter grainy. I don't mind this too much - it won't matter in sauces or on most breads - but my wife hated the grainyness, so I'm bumping this to an optional thing.]
INGREDIENT NOTE: I almost always end up eyeballing the secondary ingredients a bit as I’m adding them to the bowl. I will sometimes go a touch below what I’ve recommended, just to make sure I’m not overwhelming the butter – especially with only using a single stick of butter. If you’re scaling to 2 or more sticks, it’s a lot safer to go full send on seasoning.
Steps
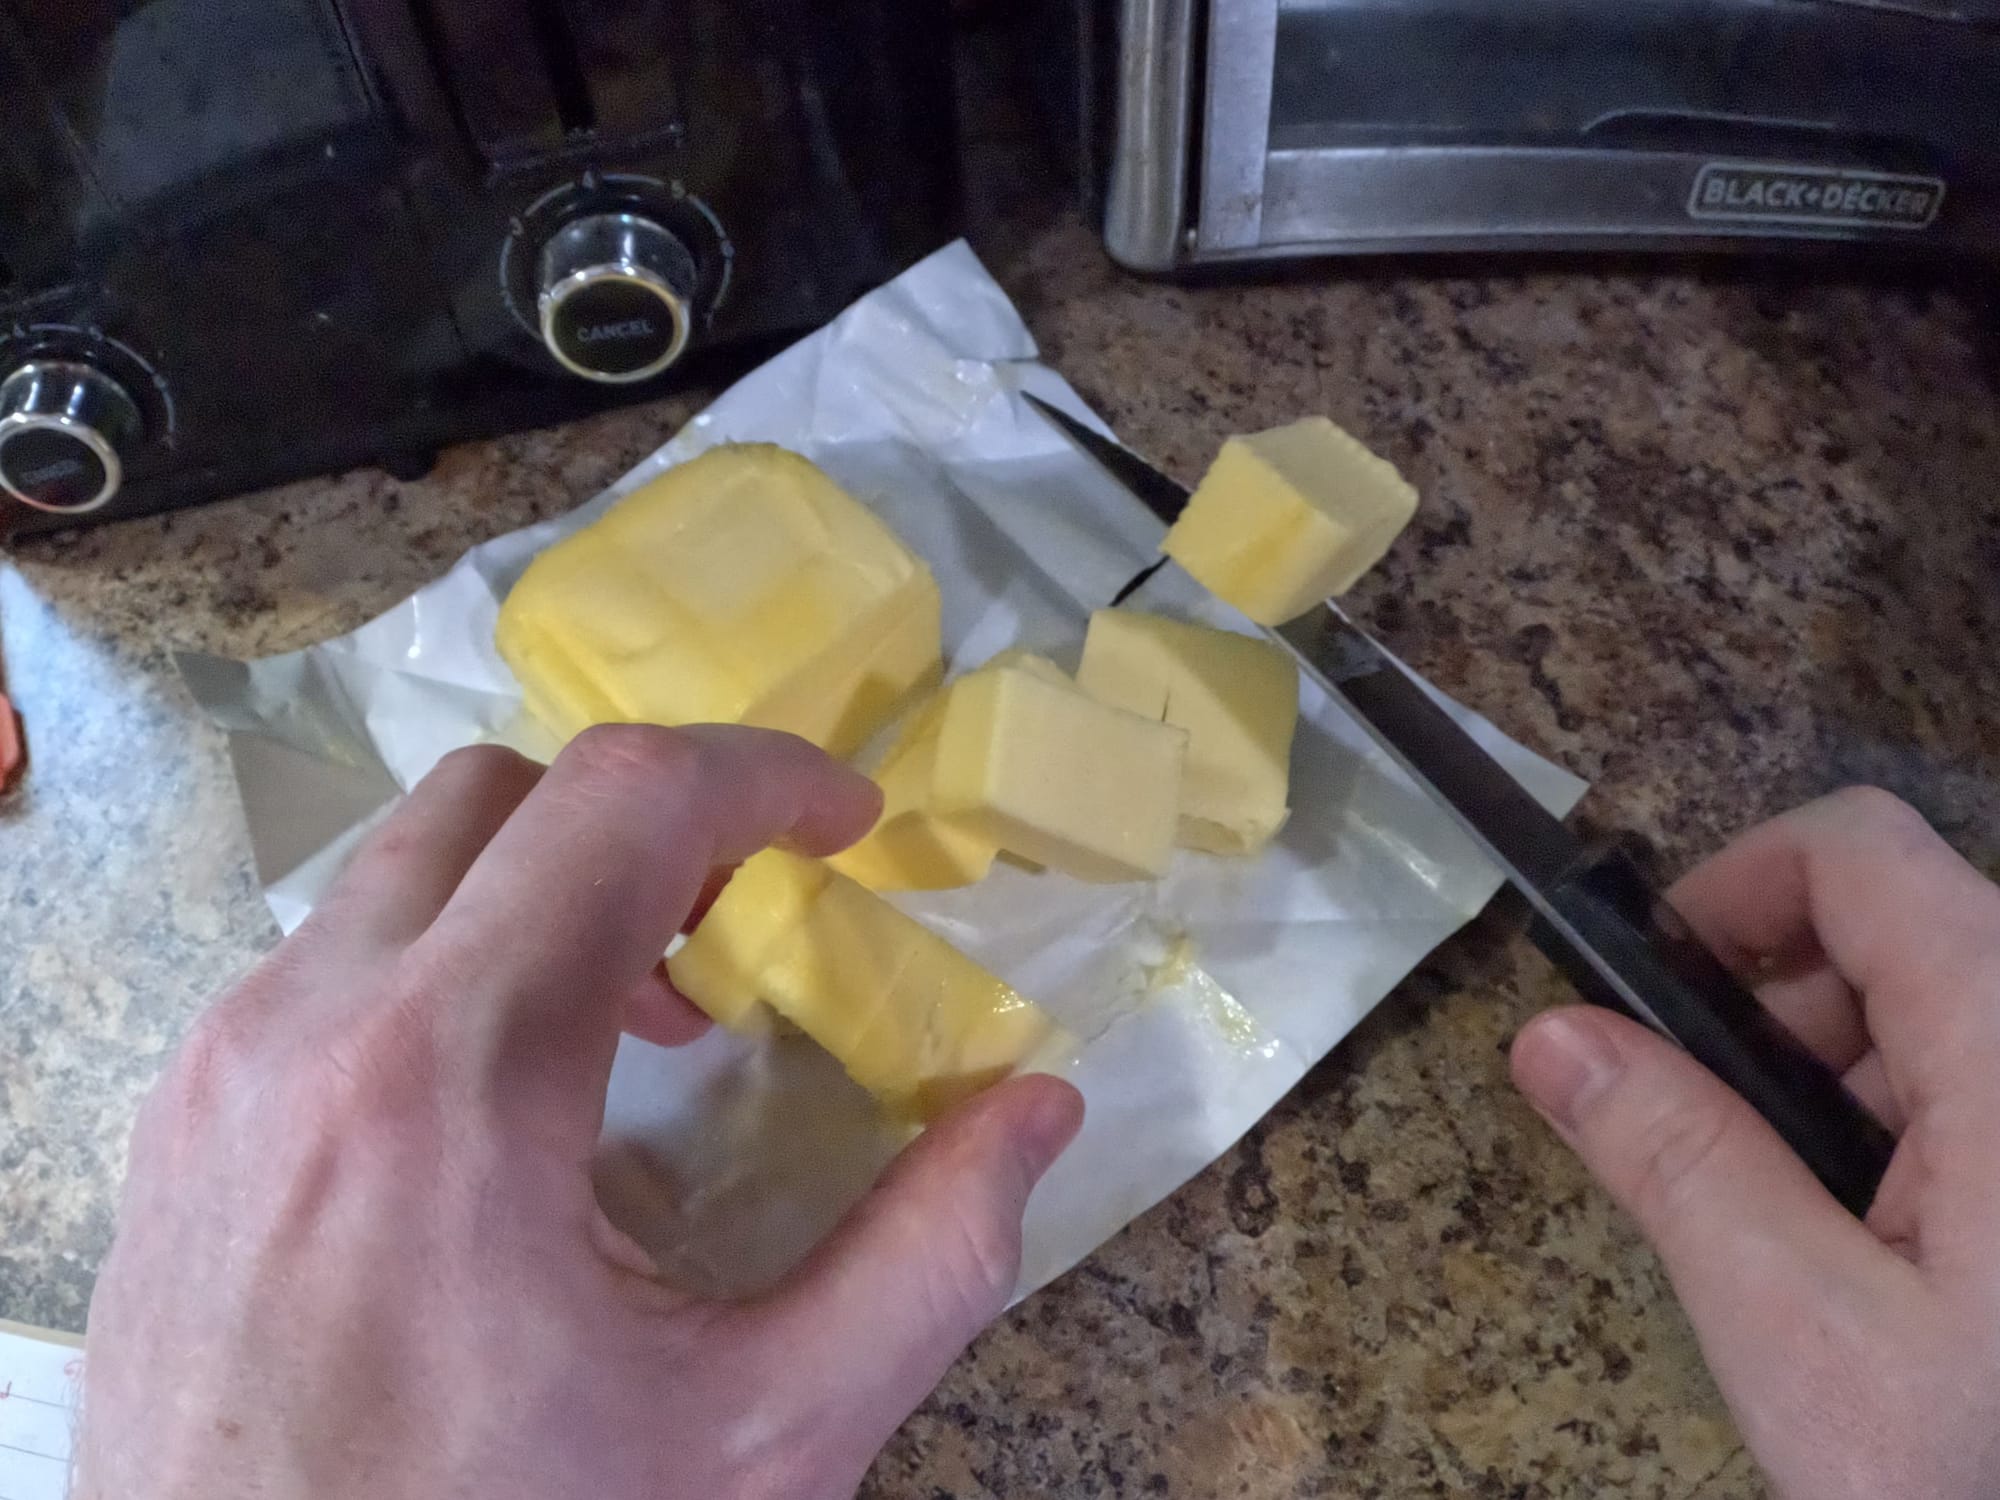
- Let the stick of butter soften at room temperature until it’s easy to work with. Do not melt it.
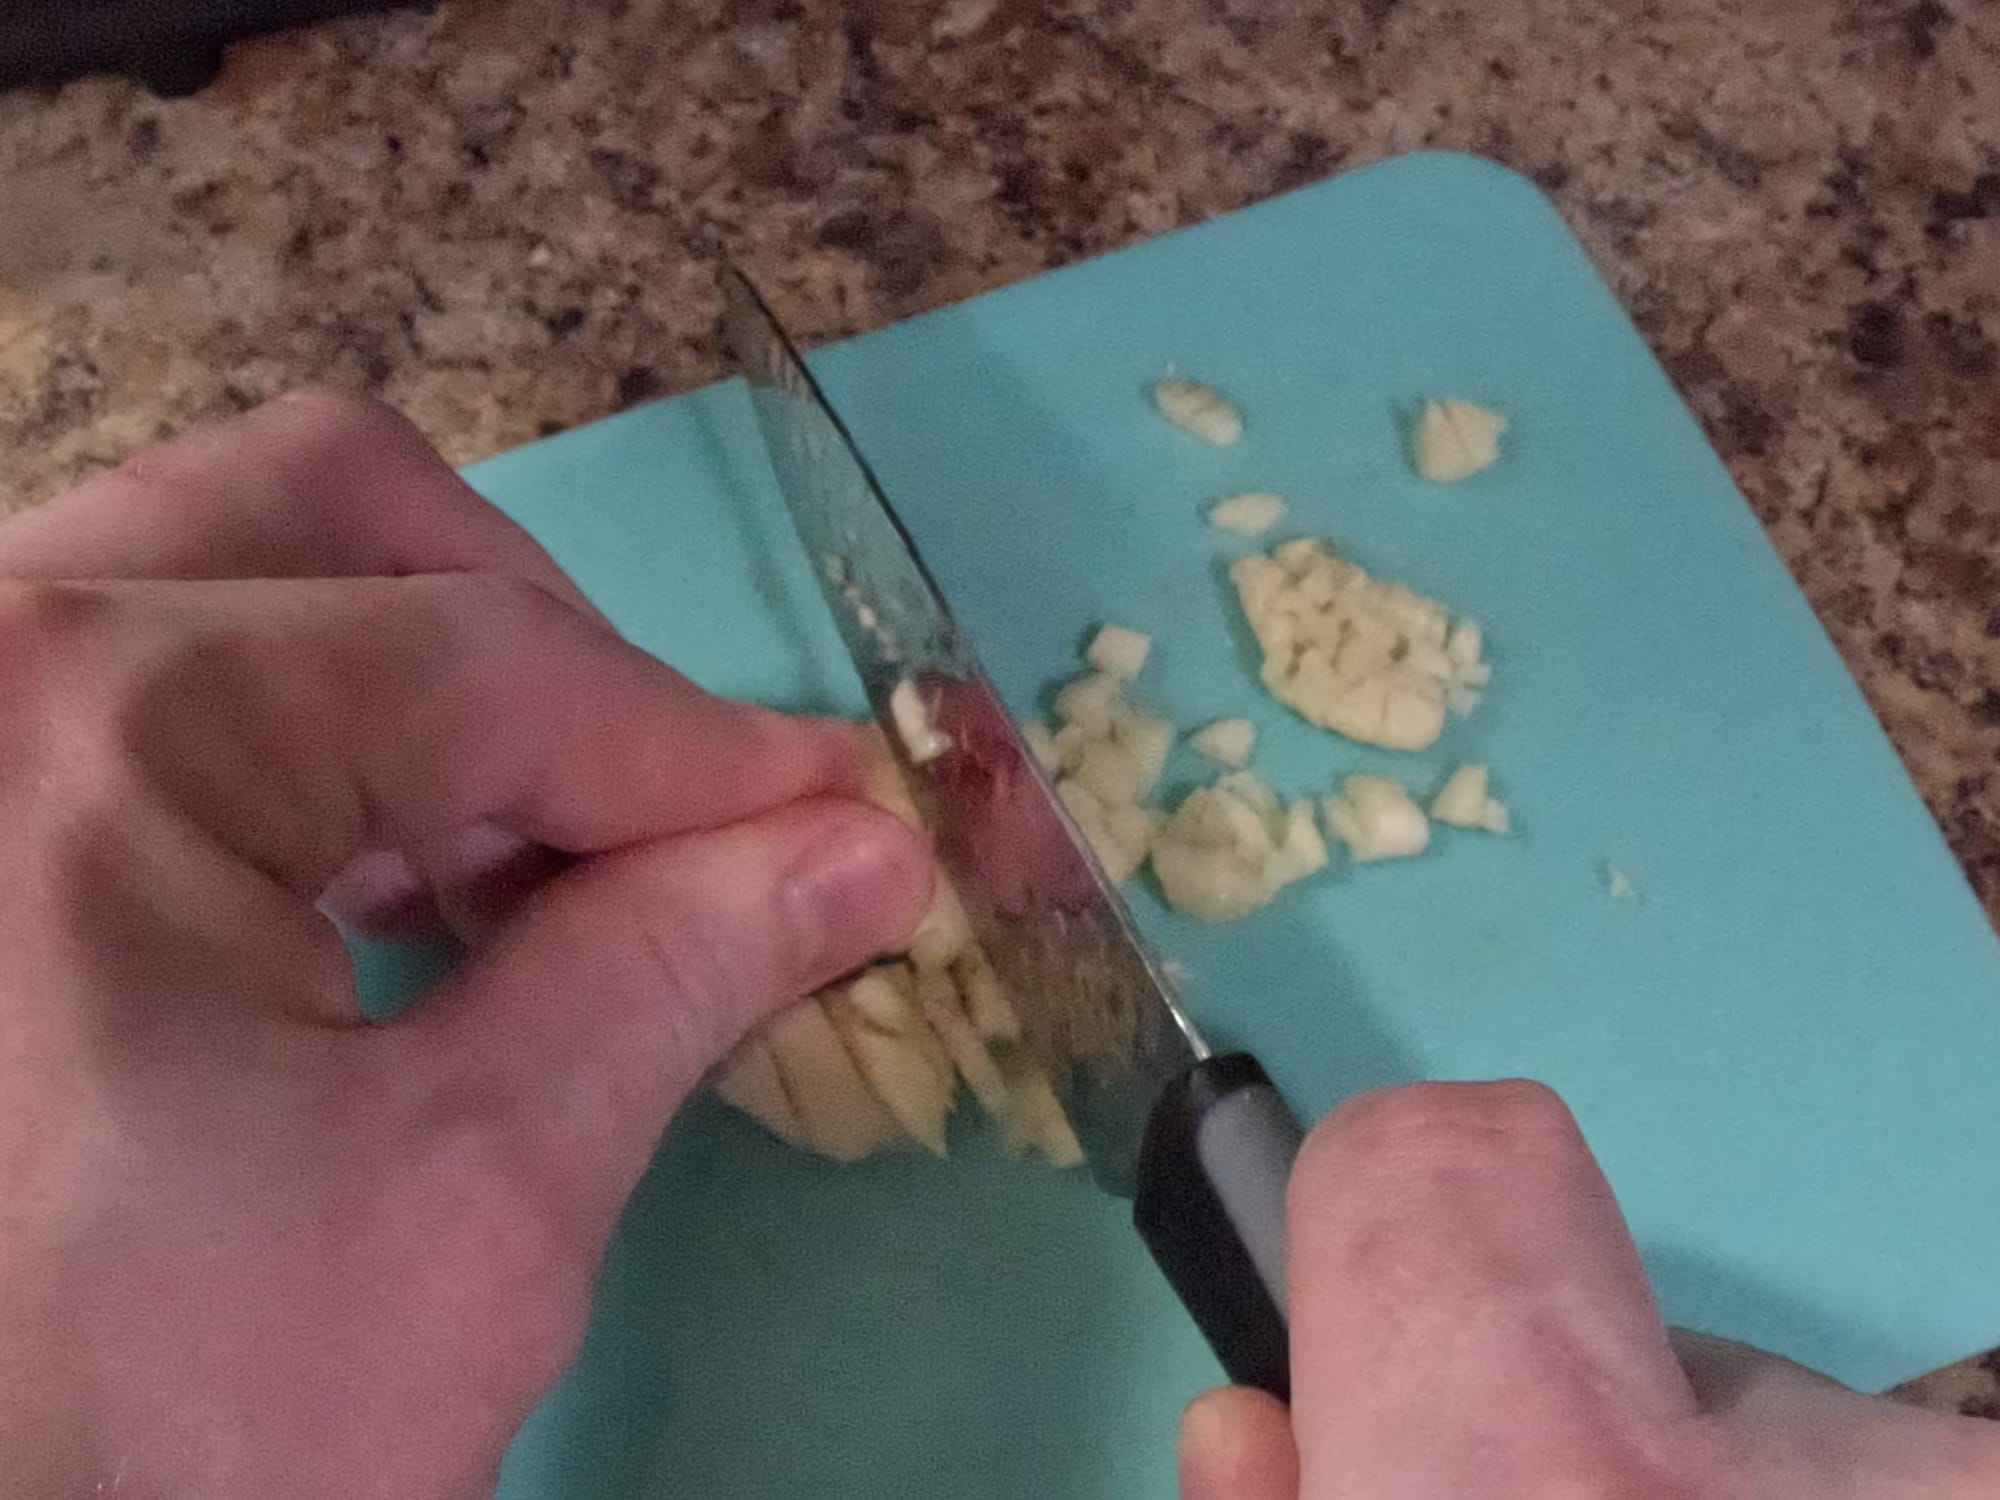
- Mince or finely chop the garlic.
- I like mincing using a microplane. Mincing hides the direct garlic flavor a bit, but makes it more even throughout the butter. Chopping the garlic gives you more concentrated bursts of that flavor.
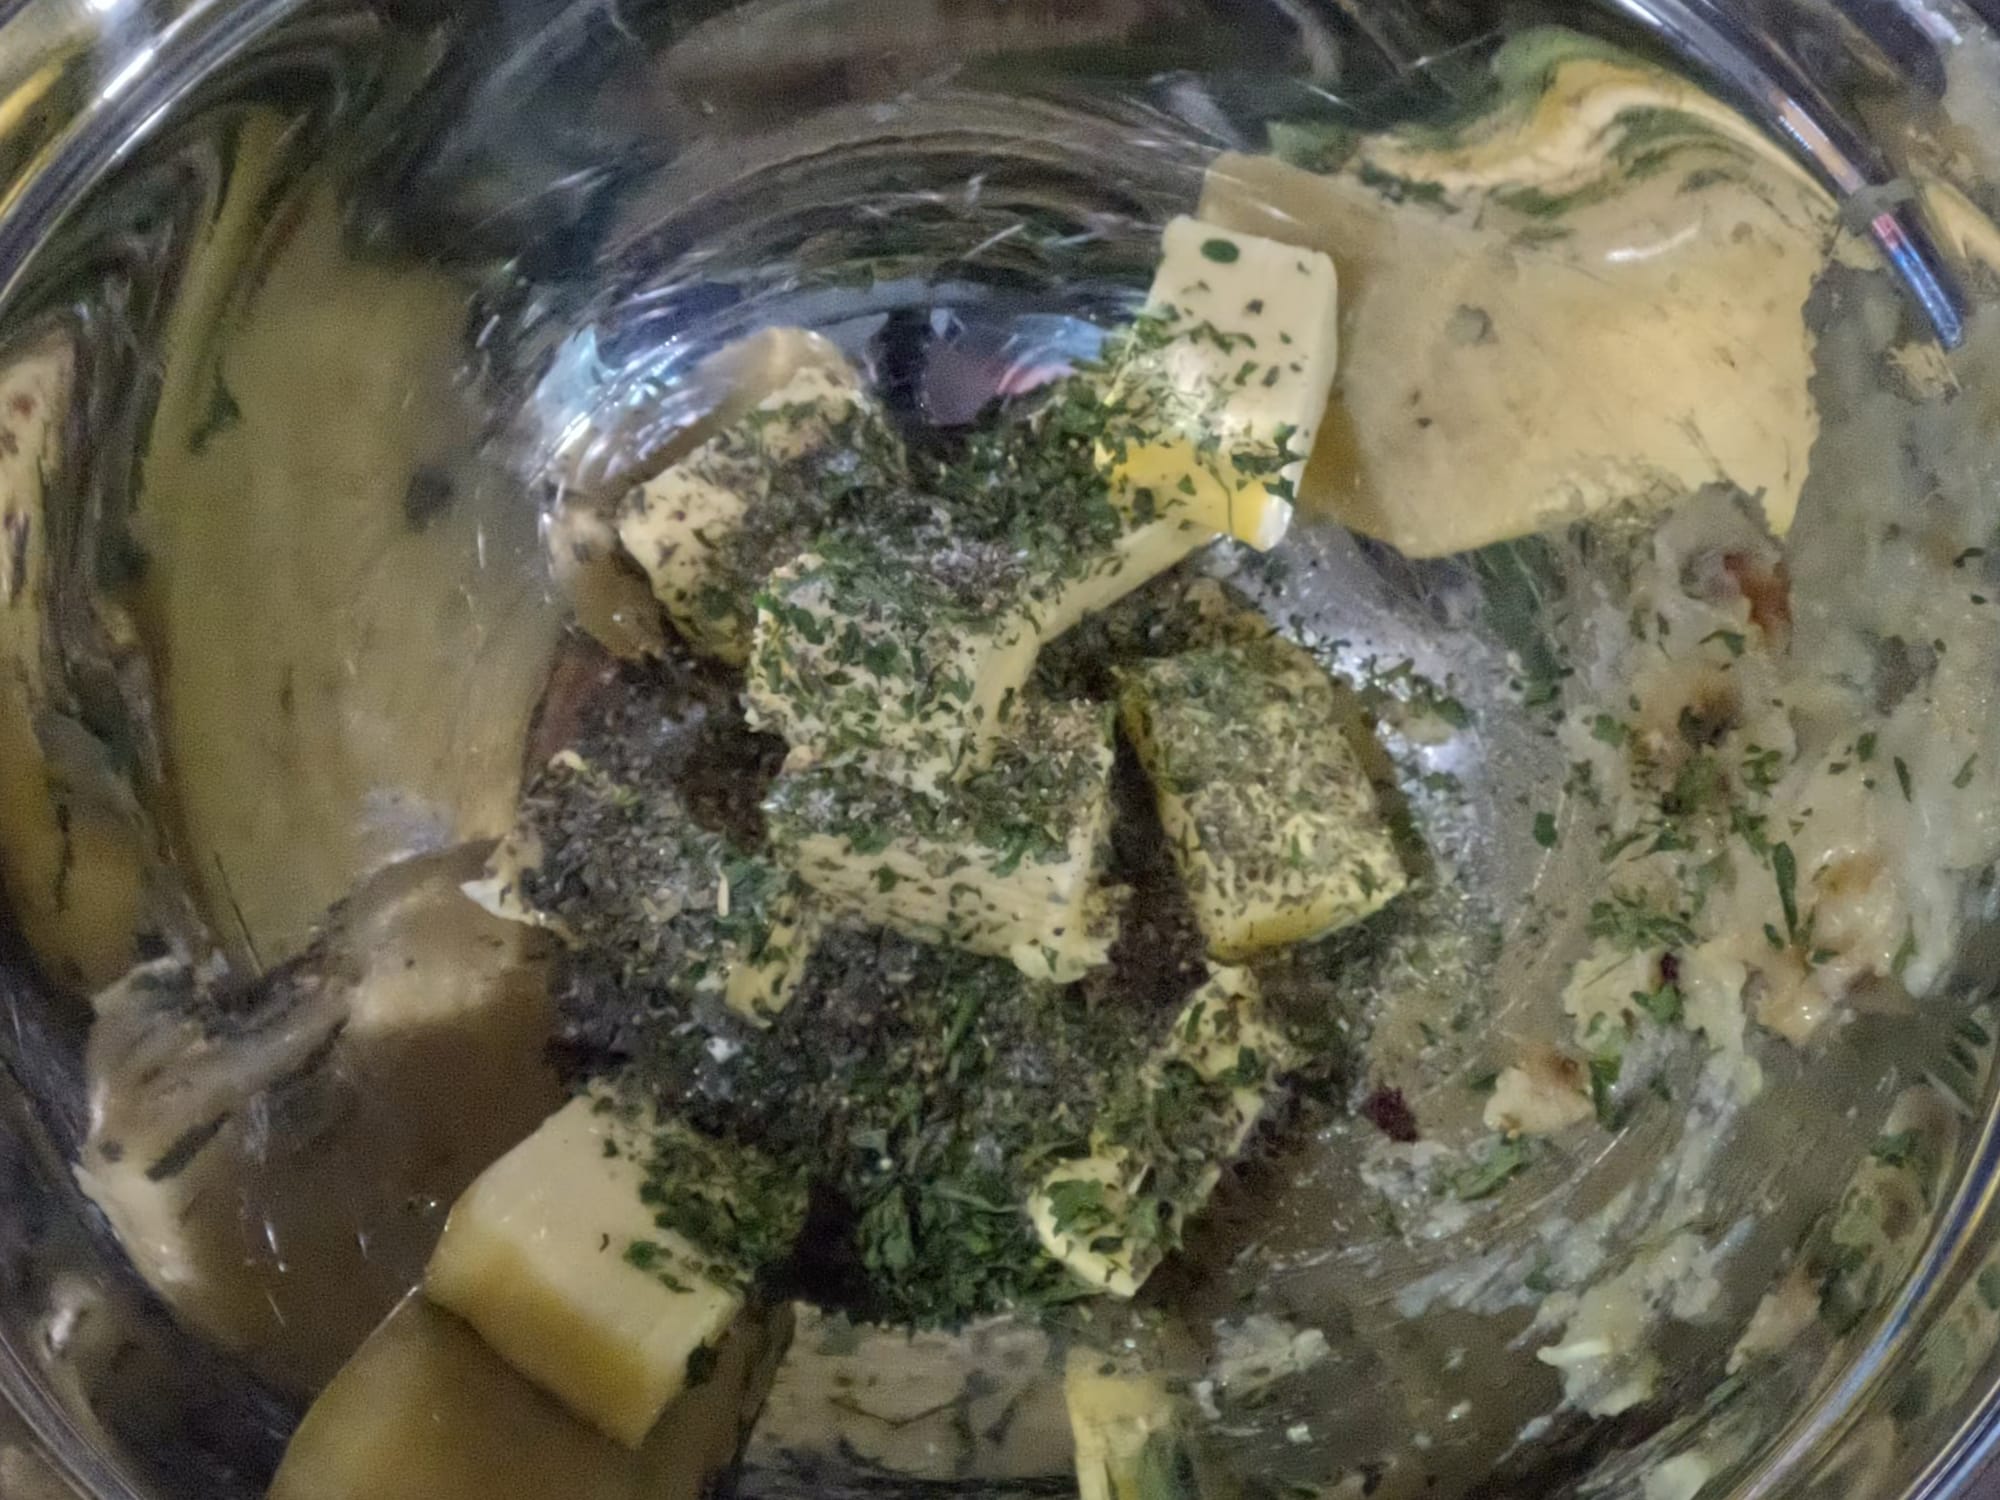
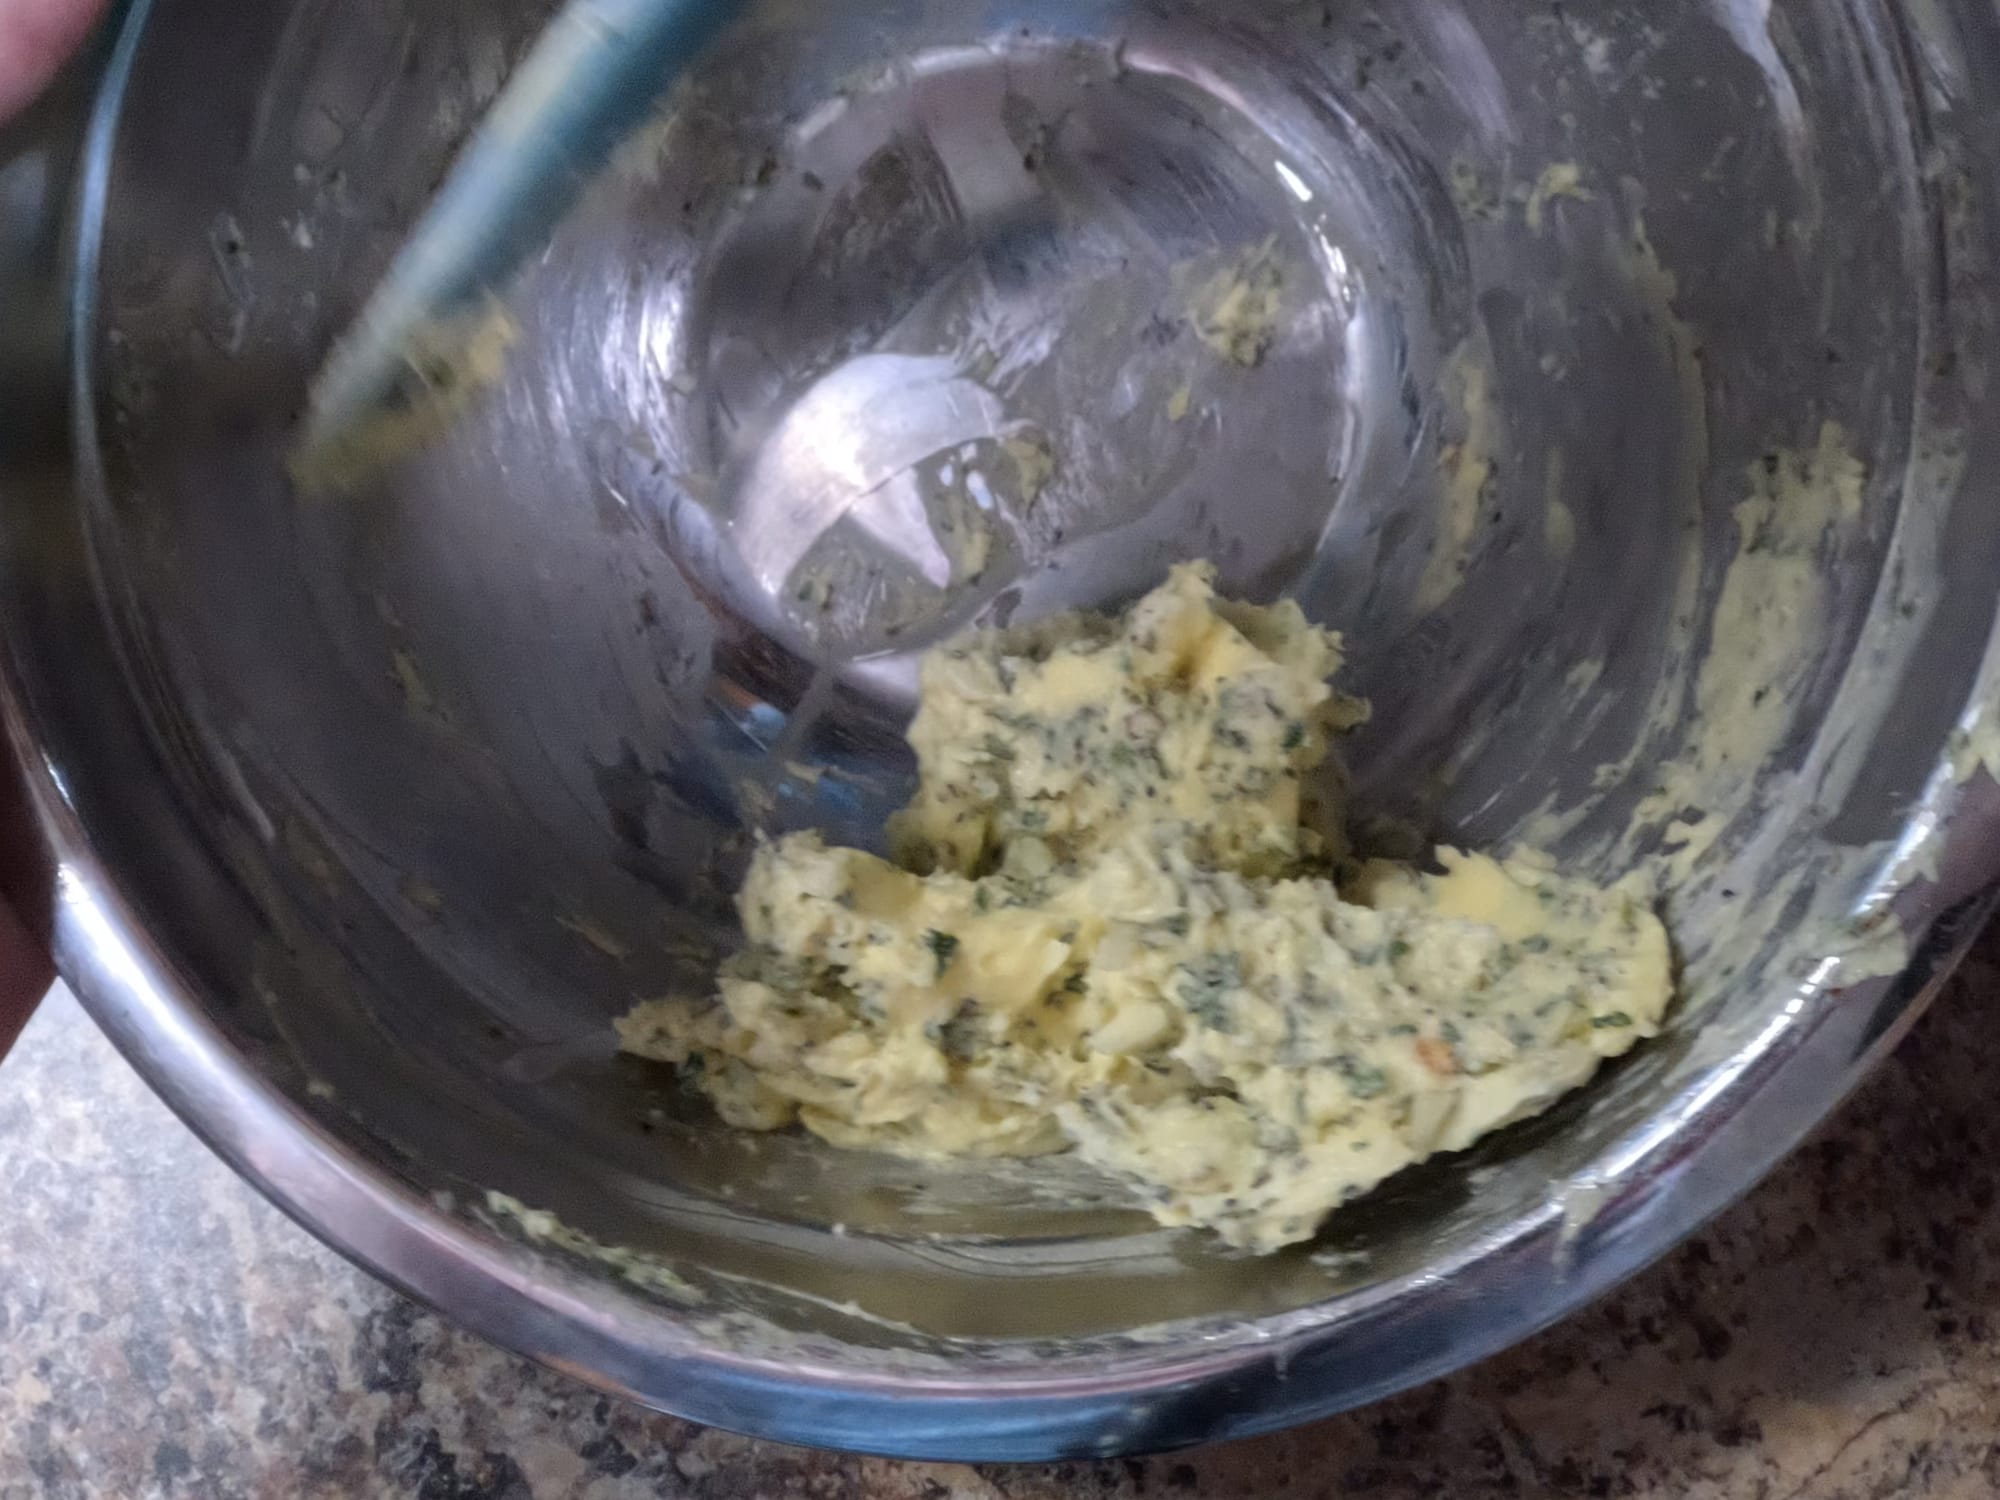
- Add the ingredients to a mixing bowl. Slowly fold in and mix the ingredients until well combined and distributed throughout the butter.
- Avoid using electronic mixers for this, as we want to avoid melting the butter or softening it too much. (Melting butter changes its properties irreversibly. You only want it melted right as you’re using it.)
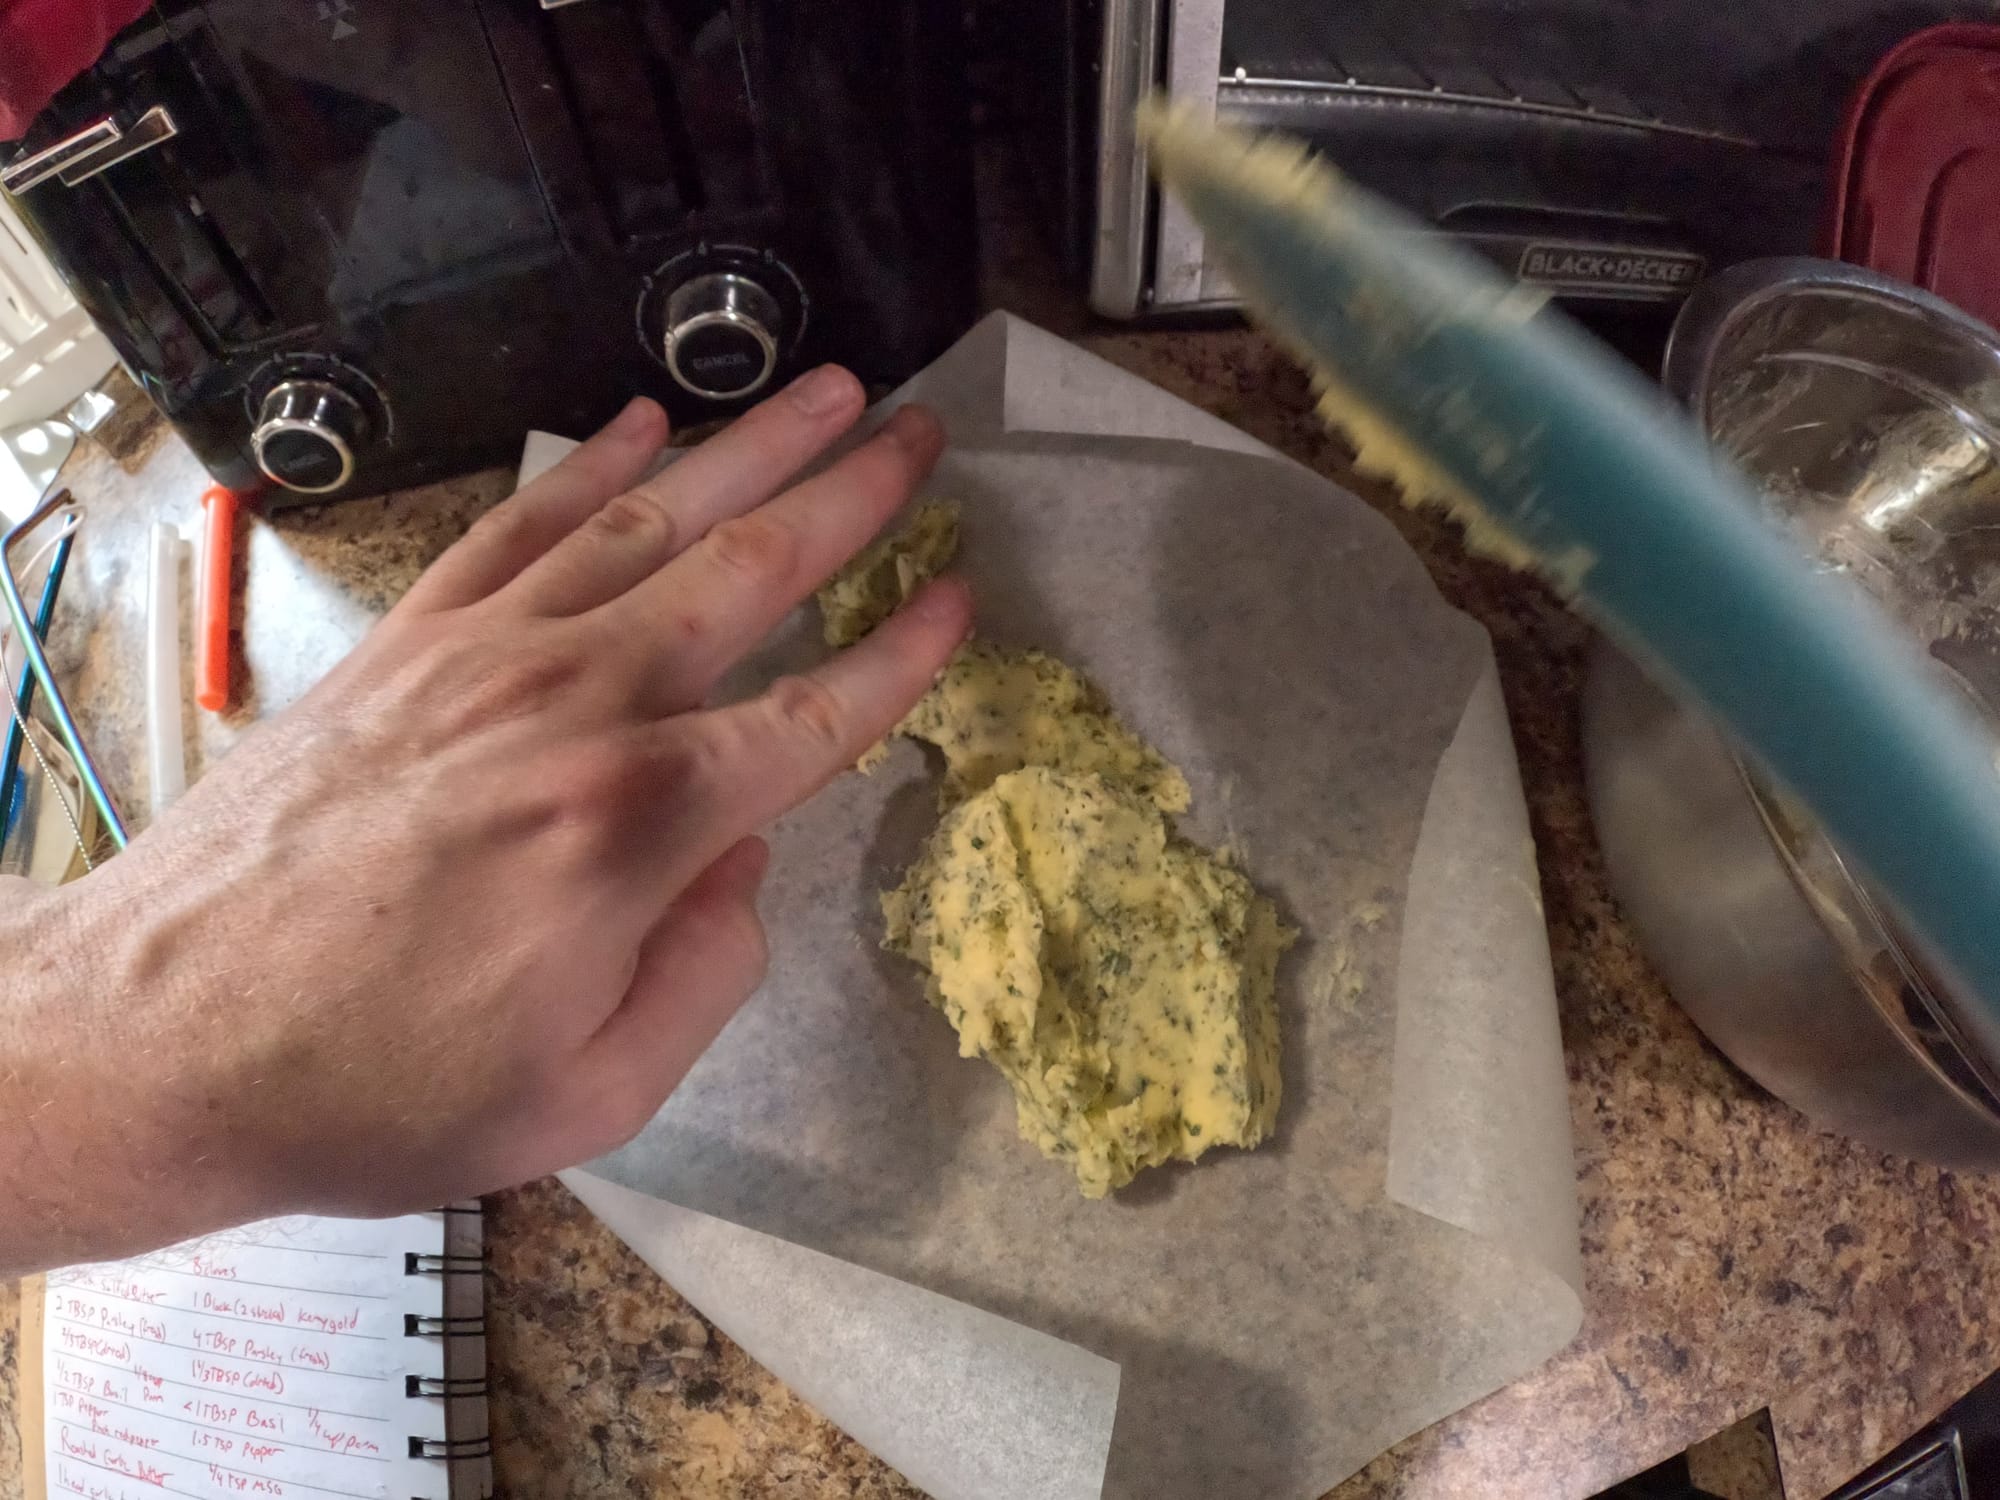
- Using a scraper or soft spatula, spread the butter into a line on parchment paper or plastic wrap and stick in the freezer for 30 minutes or more.
- Remove from freezer and slice into discs, store in a zipper freezer bag for later, keeping only what you need in a butter dish in the refrigerator.
You can either keep some in the fridge and set out to soften a bit before spreading (or melt it yourself when ready) or take it straight out of the fridge. If I can soften it, the butter spreads easily with a spreader on the bread – but putting it in chunks on the bread works, too. It will all melt and distribute in the toaster oven, regardless.
Roasted Garlic Butter
This is a fun twist on the previous recipe.
Fresh garlic has an in-your-face, pungent and spicy flavor – but if you roast it first, it all melts together a bit and the flavor becomes milder, sweeter, and almost creamy. This works great for pastas, but it can also create a different flavor profile for the butter.
Ingredients
- 1 stick of salted butter, softened at room temperature
- 1 head of roasted garlic
- Table salt
- 1.5 tbsp fresh parsley
- or 1/2 tbsp dried parsley
- ¼ tbsp basil
- ¼ tsp freshly-cracked black pepper
- A pinch of red pepper flakes
- 1/8 tsp MSG
Optional:
- 1/8 cup of grated parmesan cheese (I eyeball this)
[I like the parmesan cheese flavor in this butter but when freezing it and then using it, it can make the butter grainy. I don't mind this too much - it won't matter in sauces or on most breads - but my wife hated the grainyness, so I'm bumping this to an optional thing.]
INGREDIENT NOTE: I almost always end up eyeballing the secondary ingredients a bit as I’m adding them to the bowl. I will sometimes go a touch below what I’ve recommended, just to make sure I’m not overwhelming the butter – especially with only using a single stick of butter. If you’re scaling to 2 or more sticks, it’s a lot safer to go full send on seasoning.
Steps
- Pre-heat oven to 400F or air fryer to 380F.
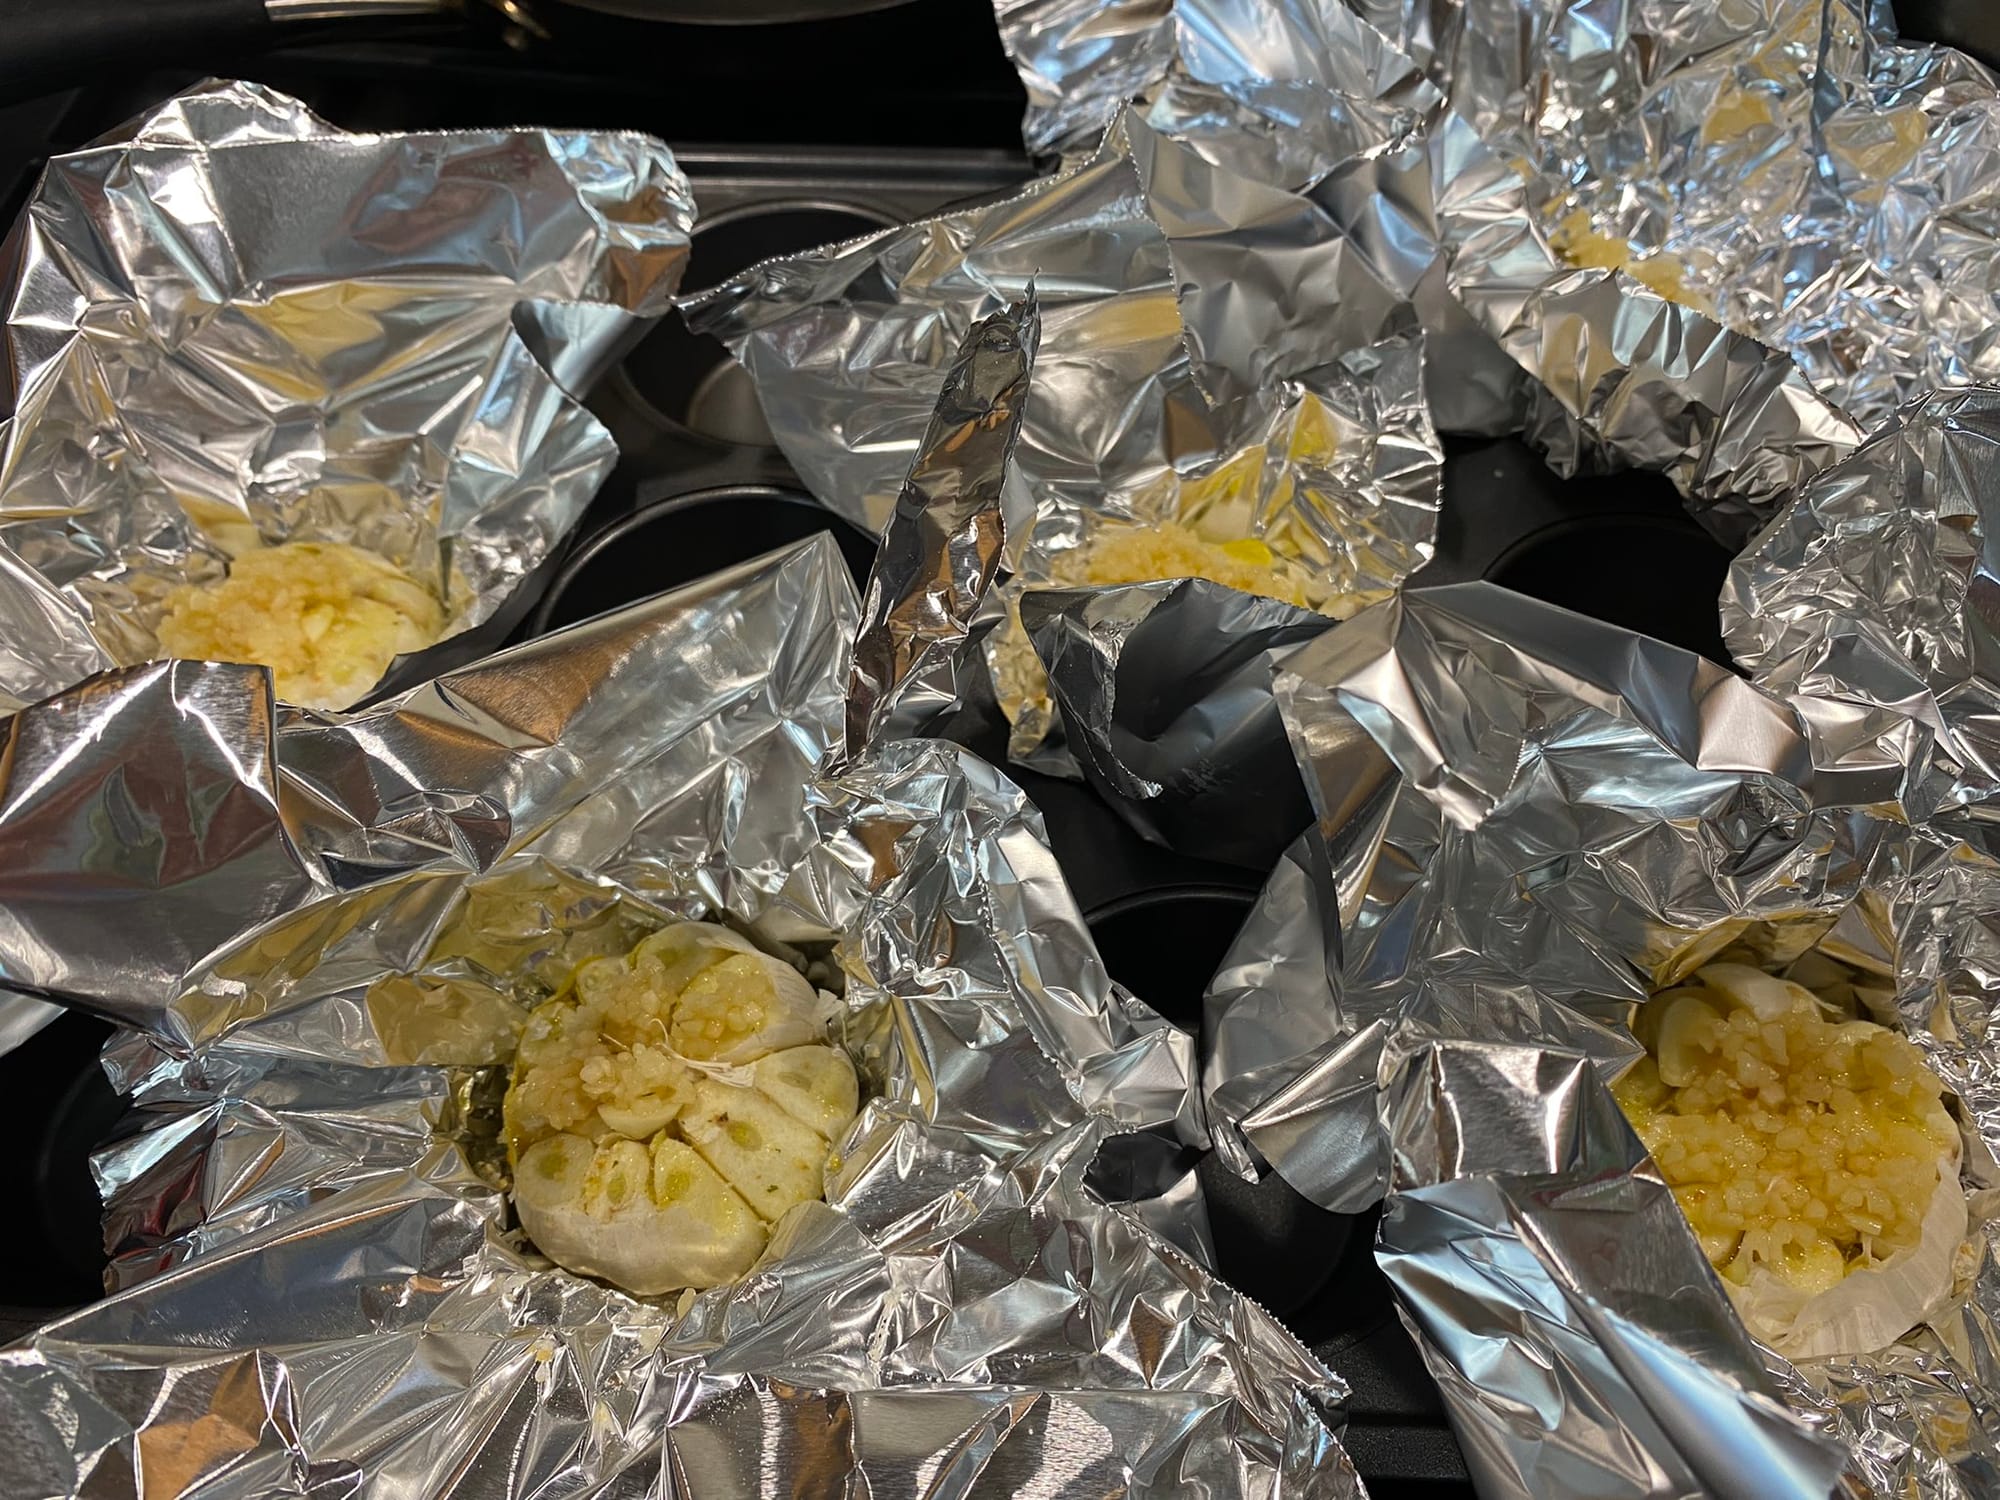
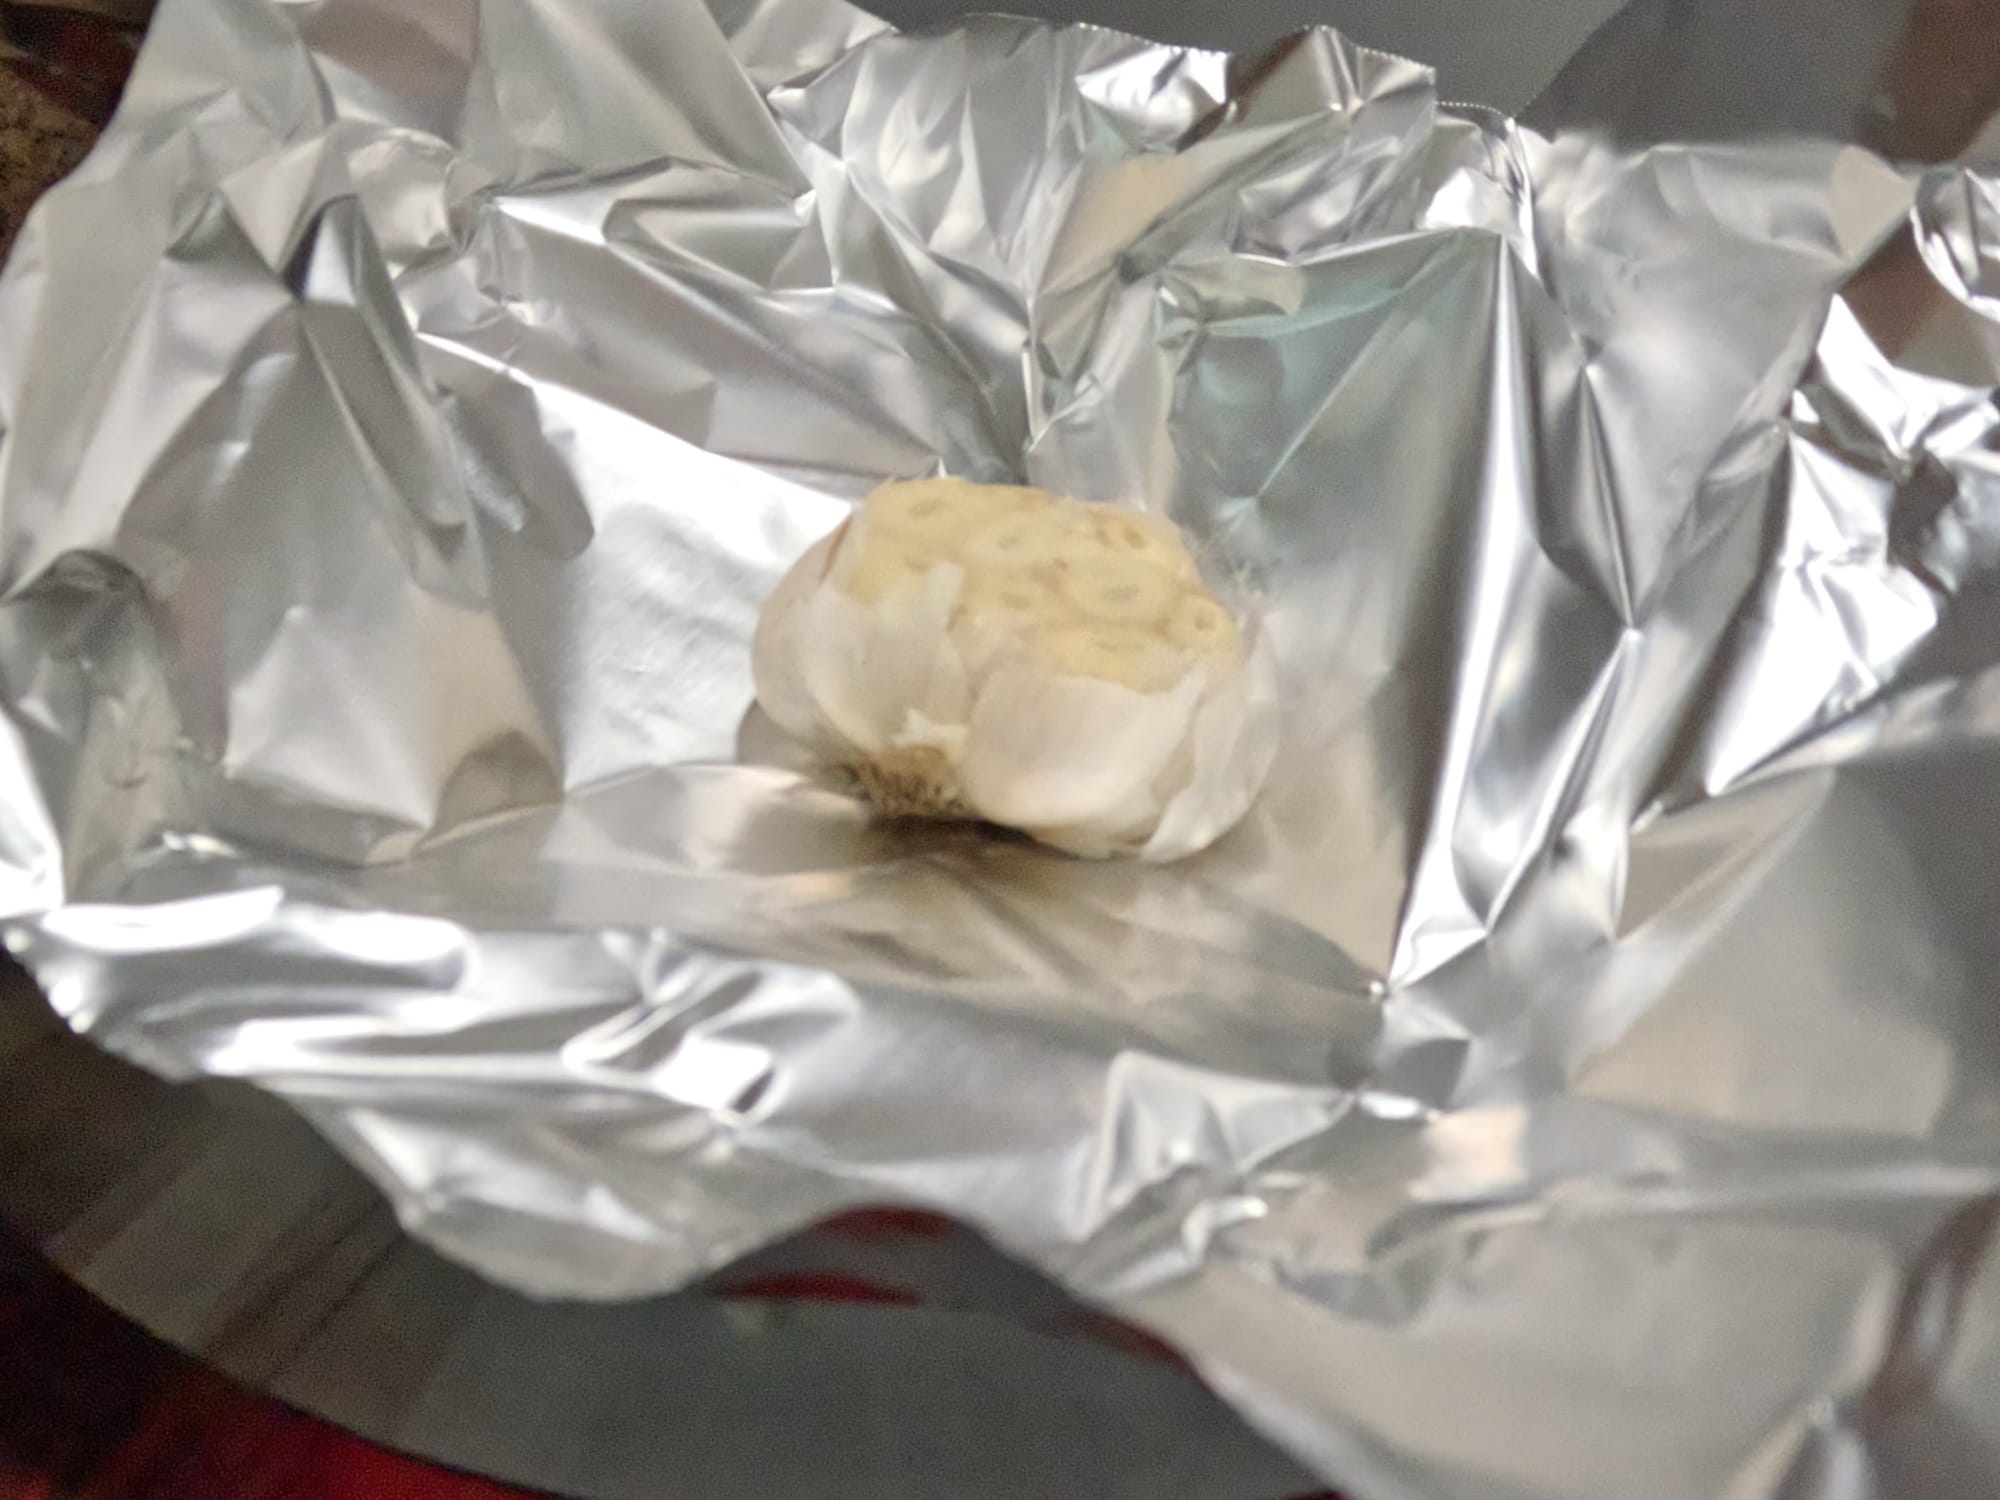
- Chop off the top of the head of garlic to expose the garlic on the inside.
- Wrap the garlic in aluminum foil and drizzle olive oil inside to cover the garlic. Sprinkle a tiny amount of table salt onto the garlic.
- Close the foil ball and place on oven-safe pan (if using oven). I like to put my foil garlic balls in a silicon muffin tin for ease of use.
- Once pre-heated, roast the garlic. In the 400F oven, roast for 40-60 minutes. In 380F air fryer, cook for 16-20 minutes.
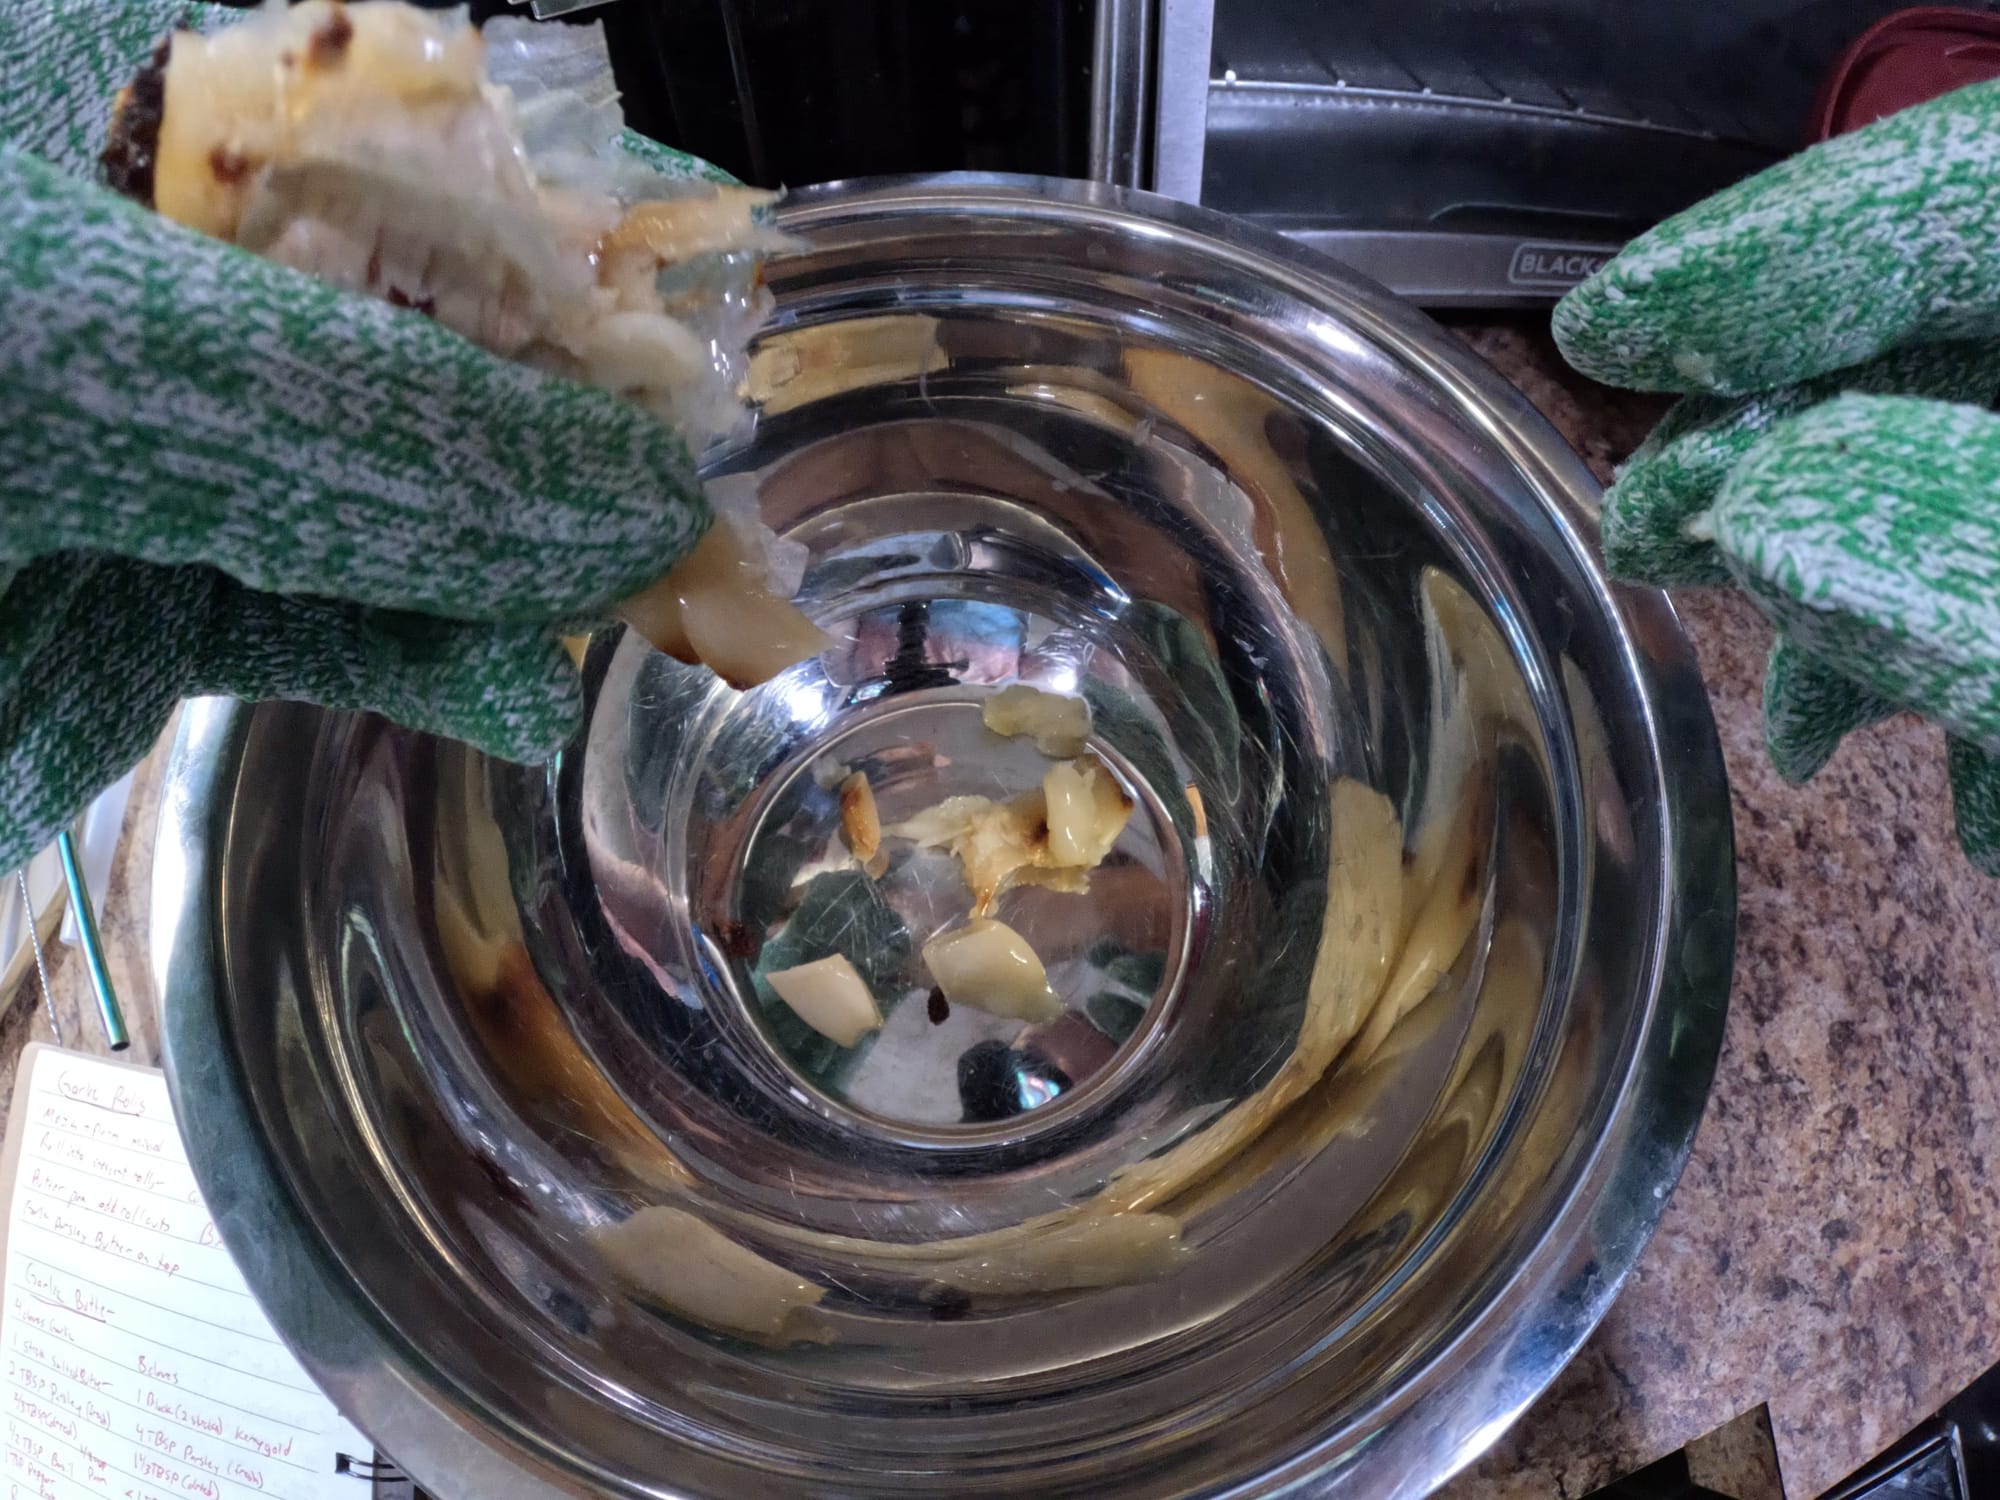
- Let the foil garlic balls cool for about 5 minutes, then carefully remove garlic from the foil. Allow to cool an additional 15-20 minutes, or until cool enough to handle.
- Squeeze out all garlic into a mixing bowl. Avoid getting the skin in the bowl.
- Mash garlic with a fork until it becomes almost paste-like. (Some chunks are fine.)
- Let the stick of butter soften at room temperature until it’s easy to work with. Do not melt it.
- Allow garlic mush to cool to room temperature – or close enough as to not melt the butter. You can stick it in the fridge, if needed.
- Add the ingredients to a mixing bowl. Slowly fold in and mix the ingredients until well combined and distributed throughout the butter.
- Avoid using electronic mixers for this, as we want to avoid melting the butter or softening it too much. (Melting butter changes its properties irreversibly. You only want it melted right as you’re using it.)
- Using a scraper or soft spatula, spread the butter into a line on parchment paper or plastic wrap and stick in the freezer for 30 minutes or more.
- Remove from freezer and slice into discs, store in a zipper freezer bag for later, keeping only what you need in a butter dish in the refrigerator.
The roasted garlic will blend in, texturally, a lot more with the butter. Combined with the more mellowed-out flavor, this may make it more appealing for those less obsessed with garlic. This method just takes more work and patience.
This method is also a lot easier if you’re using 2+ sticks of butter, as with 2-4 heads of garlic you are able to get a much thicker paste after roasting, which actually makes it easier to distribute evenly through the butter.\
Again, you can either keep some in the fridge and set out to soften a bit before spreading (or melt it yourself when ready) or take it straight out of the fridge. If I can soften it, the butter spreads easily with a spreader on the bread – but putting it in chunks on the bread works, too. It will all melt and distribute in the toaster oven, regardless.
Which is better?
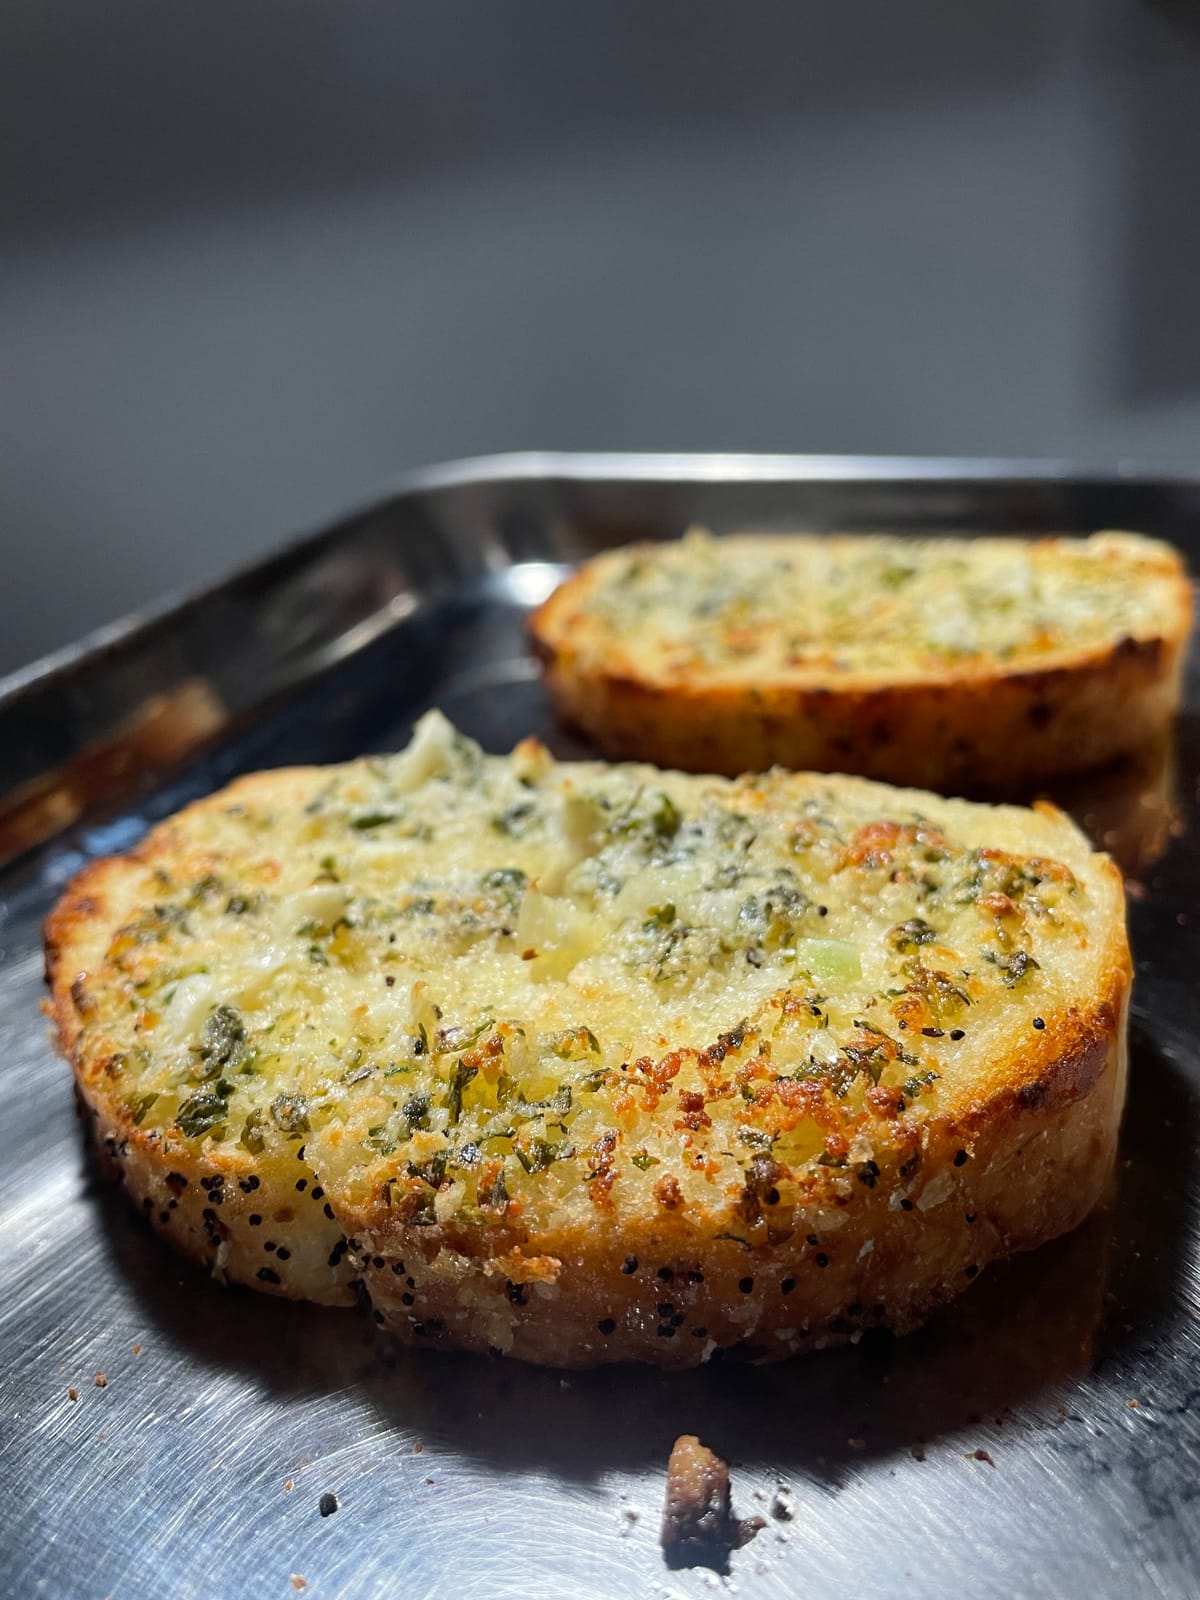
To write this post, I went ahead and made a batch of both the fresh and roasted garlic butter, using Kerrygold butter and dried parsley instead of fresh.
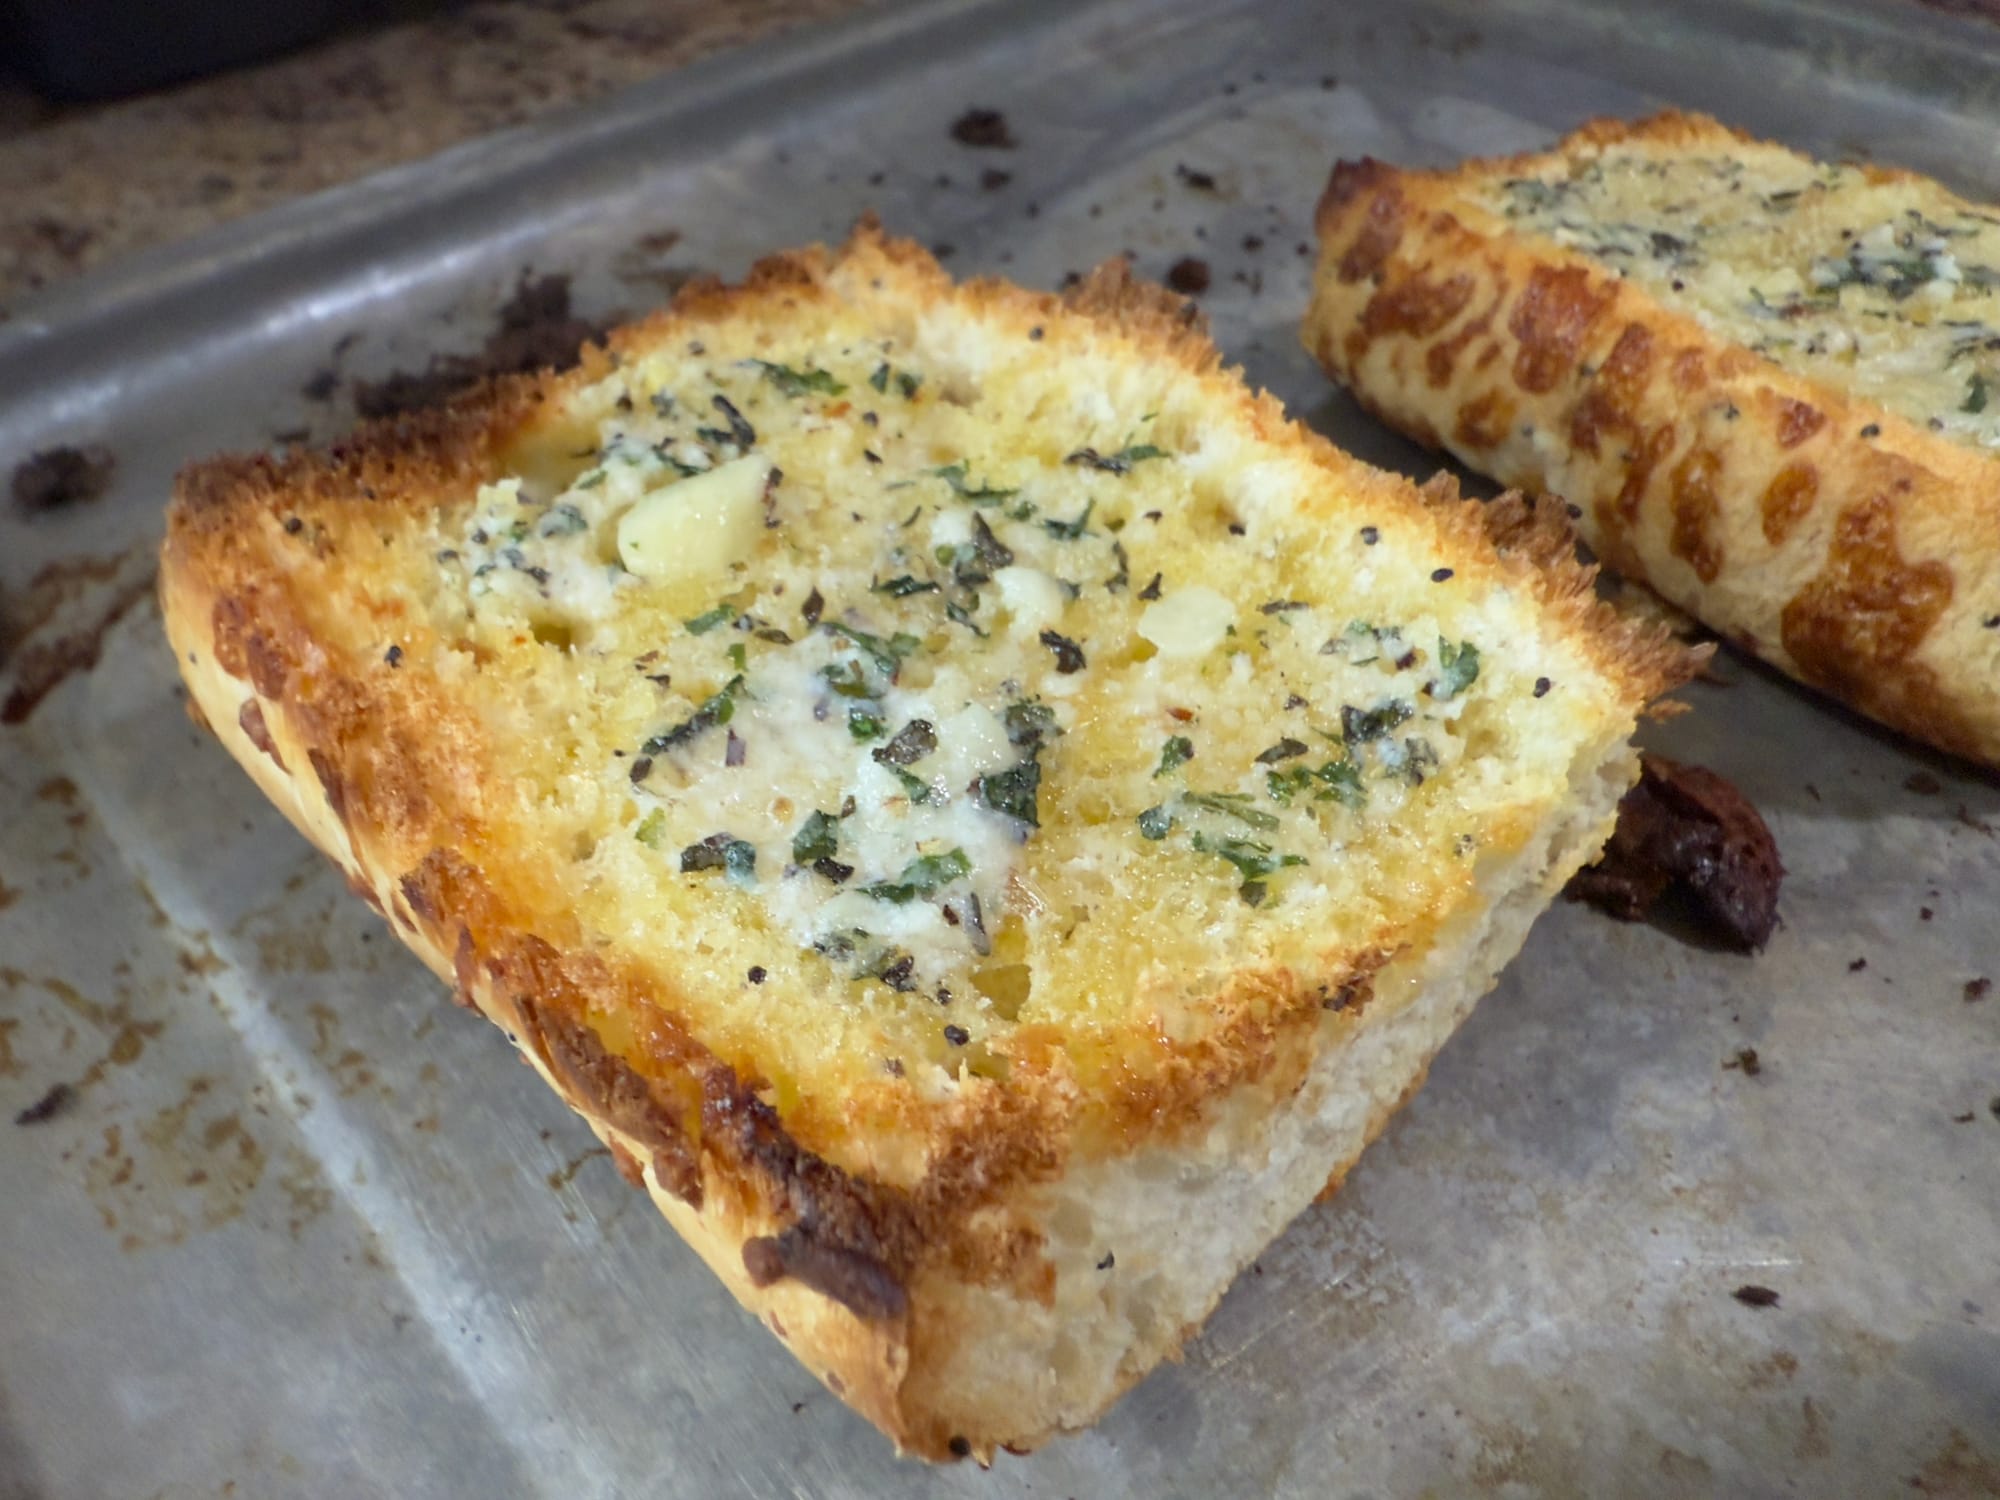
I have to admit, the roasted garlic is definitely my favorite. The richness, the warmth, it feels like you can taste the fact that it was roasted without any direct garlic chunks going into your mouth. The flavor is just so pleasurable, without being too overwhelming.
But, it would depend on how you’re using it. Making a sauce to dip shrimp in, spread on crust, or an already-cooked dish? Go with the fresh garlic method. It’s quicker and will contrast better with the already-roasted ingredients. Just going on bread or something plain? Go roasted, as the deeper flavor profile will take it to the absolute next level.
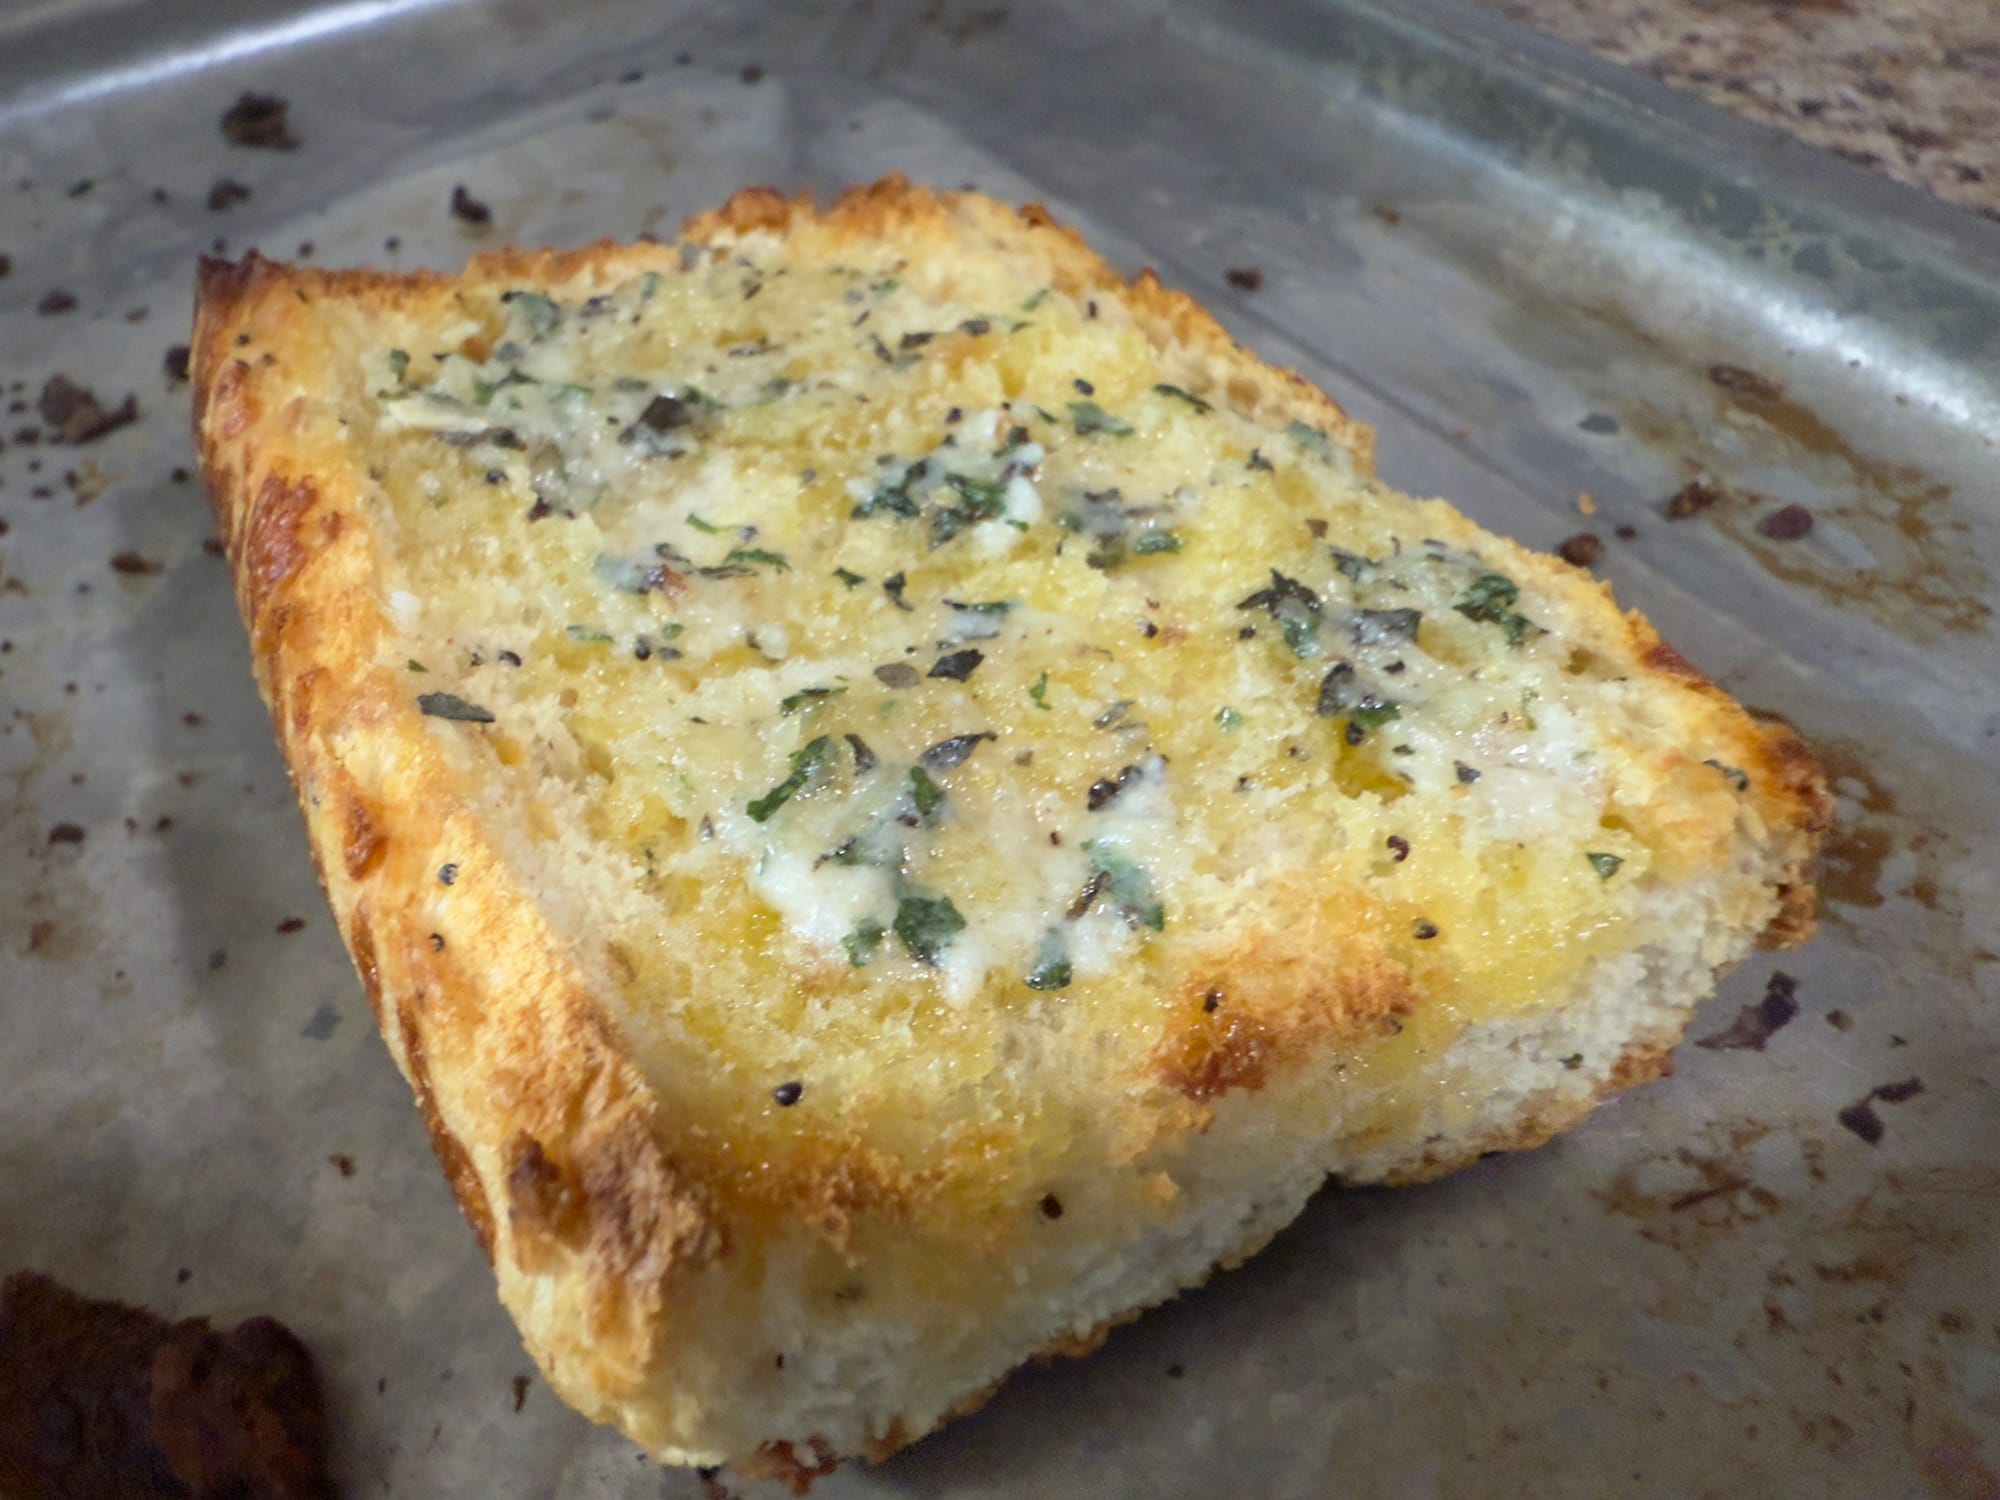
Whichever you use, enjoy using this new butter recipe to make new dishes, coat your pizza crust or shrimp, maybe spice up your spaghetti night, or whatever else you come up with. Let me know what you make with these – or what hang-ups you might still have with ingredients!